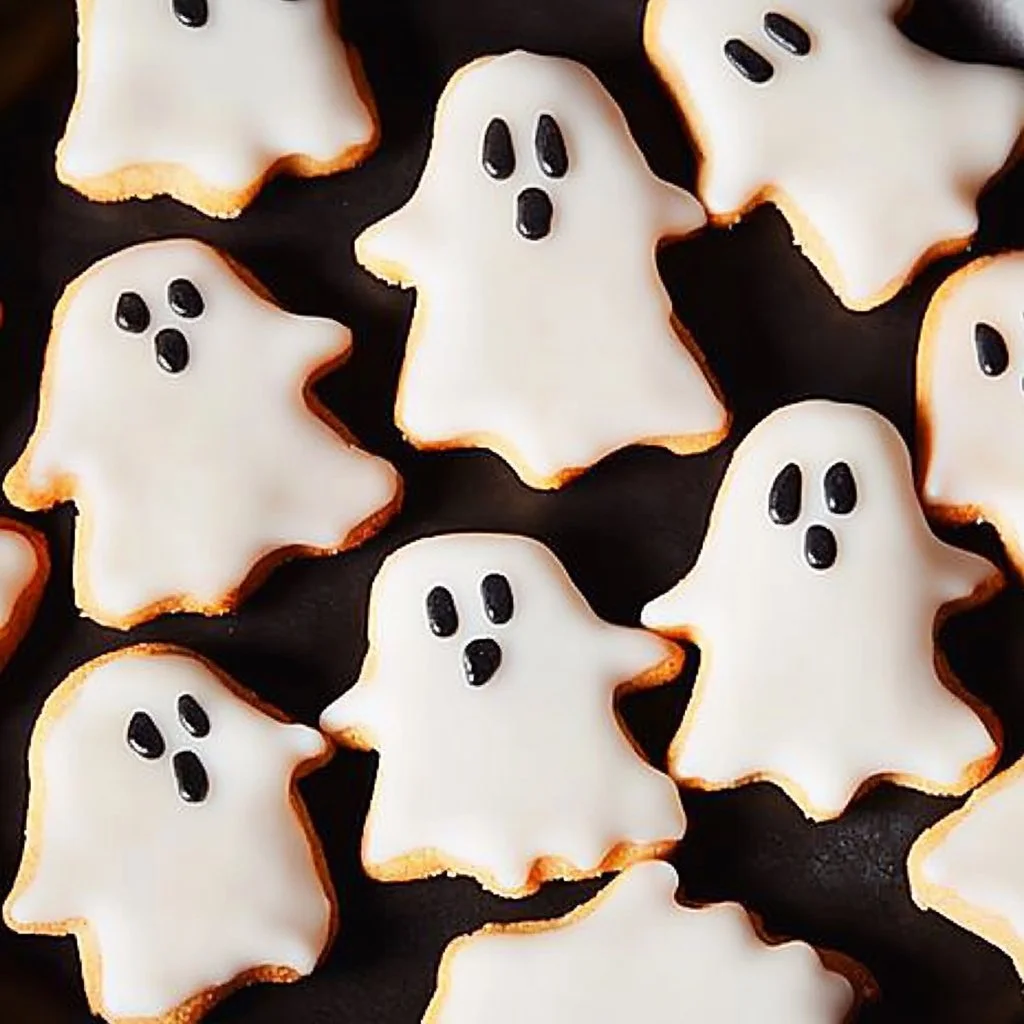
Spooky Ghost Cookies
What’s better than sharing the spirit of Halloween with a batch of enchanting Spooky Ghost Cookies? These delightful treats charm your senses with their soft, buttery goodness and eye-catching, glossy icing that captures the essence of this festive season. They’re easy to whip up, kid-friendly, and a nostalgic nod to childhood memories spent in the kitchen preparing for Halloween. As you frost each ghostly figure, listen to the laughter and squeals of joy that will fill your home. These cookies are not just baked goods; they’re unforgettable moments wrapped in sugary bliss.
Can you imagine the delight of a child seeing these sweet specters just waiting to be devoured?
Picture this: A cozy kitchen filled with the warm scent of freshly baked cookies, and kids buzzing with excitement as the ghosts take form. These Spooky Ghost Cookies are sure to bring smiles, laughter, and lots of Instagram-worthy moments. With just the right balance of sweetness and fun, they’re bound to be a hit at your Halloween gathering or school party. So why not unleash your inner baker and create these delicious spirits that are sure to cast a spell on everyone?
Why You’ll Love This Recipe
Quick & Easy Prep: With just a few straightforward steps, you’ll have these ghoulish delights ready in no time.
Kid-Friendly Fun: Kids will love helping out with the decorating, making this a wonderful family bonding experience.
Minimal Ingredients: You likely have many of these baking staples sitting in your pantry!
Impressive Presentation: These ghostly cookies are a showstopper and will add festive flair to any Halloween celebration.
Perfect for Any Occasion: While Halloween is their time to shine, the versatility of these cookies means they can be enjoyed all year round.
Ingredients
For these heavenly Spooky Ghost Cookies, gather the following ingredients:
- 3 cups all-purpose flour, plus more for surface (this provides the perfect base)
- 1 tsp baking powder (for the delightful rise)
- 1/2 tsp kosher salt (enhancing all those sweet flavors)
- 1 cup (2 sticks) unsalted butter, softened (the key to that melt-in-your-mouth texture)
- 1 cup granulated sugar (for just the right sweetness)
- 1 large egg (binds it all together)
- 1 Tbsp milk (for added creaminess)
- 1 tsp pure vanilla extract (the aromatic secret to flavor)
- 3 cups powdered sugar (for a fluffy, sweet icing)
- 1/4 cup light corn syrup (to give icing that shiny finish)
- 1/4 cup milk, plus more for thinning (achieve the perfect consistency)
- 1/4 tsp almond (or vanilla) extract (for a delightful twist)
- Black food coloring (to create those spooky ghost faces!)
Combine these ingredients and let the magic begin, transforming simple pantry staples into something extraordinary!
Timing
These delightful Spooky Ghost Cookies fall beautifully between fast and indulgent. You’ll spend a mere 15-20 minutes prepping and baking, making them an excellent option for an impromptu gathering. However, as you let them cool and decorate, you’ll savor every moment, channeling that artisanal vibe into your kitchen. It’s the perfect blend of quick fun and indulgent creativity.
Step-by-Step
In a large mixing bowl, whisk together the flour, baking powder, and kosher salt until well combined. This creates the foundation for our cookies.
In another large bowl, beat the softened butter and granulated sugar together until light and fluffy, around 2-3 minutes.
Crack in your large egg, add the milk and vanilla extract, then mix until thoroughly combined.
Gradually add the flour mixture into the wet ingredients until just combined. Be careful not to overmix!
Shape your dough into a disk, wrap it in plastic wrap, and refrigerate it for at least one hour. This will help the cookies hold their shape.
Preheat your oven to 350°F and line two large baking sheets with parchment paper.
Lightly flour a clean surface and roll out the chilled dough until it’s about 1/8 inch thick.
Using a ghost cookie cutter, cut out your ghost shapes and transfer them to the prepared baking sheets.
Freeze the cookies for about 10 minutes before baking. This helps retain their shape while baking.
Bake the ghosts in your preheated oven for 8 to 10 minutes, until their edges are just lightly golden.
Once baked, transfer them to a wire cooling rack and allow them to cool completely.
As they cool, make the icing by combining powdered sugar, corn syrup, milk, and your almond (or vanilla) extract in a medium bowl.
Take about a quarter of the icing and place it in a small bowl, dyeing it with black food coloring for those spooky eyes and mouths.
Pipe the edges of your ghost cookies with the white icing, then fill in the centers with the remaining icing. Thin it if necessary with a bit of extra milk.
Allow the icing to set for about 15 minutes before piping those expressive eyes and mouths onto your ghost cookies using the black icing.
Take a moment to admire your creepy, funny, and delicious ghostly creations!
Nutritional Information
Each Spooky Ghost Cookie is an indulgent treat, holding about 120 calories depending on the size and amount of icing. While they’re not your everyday snack, they’re perfect for occasional Halloween festivities. Remember, a little sweetness goes a long way in celebrating special moments with friends and family.
Healthier Alternatives
Looking for a lighter version? You can easily modify this recipe to fit a healthier lifestyle. Try these swaps:
Low-Sugar Version: Substitute powdered sugar with a sugar alternative suitable for baking to reduce the sweetness without sacrificing taste.
Dairy-Free Option: Use coconut oil instead of butter and almond milk instead of regular milk to make these cookies entirely dairy-free.
Gluten-Free Twist: Swap all-purpose flour with your favorite gluten-free flour blend to cater to those with gluten sensitivities.
These modifications allow you to enjoy Spooky Ghost Cookies without the guilt while still keeping the festive spirit alive.
Serving Suggestions
The delightful Spooky Ghost Cookies are versatile enough to serve at various occasions. Pair them with a scoop of creamy vanilla ice cream for an indulgent treat or serve them as whimsical snacks at a Halloween party. Their cute and playful design makes them perfect for festive table displays, kids’ birthday parties, and holiday treats. And don’t forget to let the kids personalize them with their own designs!
Common Mistakes
Overbaking: This can lead to dry cookies! Keep an eye on them, and remove them just as they begin to turn golden.
Texture Issues: Overmixing the dough can result in tough cookies. Mix until just combined for the best texture.
Messes with Icing: Icing can get messy, so consider using squeeze bottles for more controlled decorating.
Cutting While Dough is Too Soft: Make sure to chill your dough adequately to maintain shape during baking.
Ignoring Cool Times: Icing needs to set before stacking, or you’ll have a gooey mess on your hands.
Storing Tips
Store any leftover Spooky Ghost Cookies in an airtight container for up to a week at room temperature. If you plan to enjoy them later, consider freezing them. Arrange them in a single layer on a baking sheet to freeze individually, then transfer them to a freezer-safe bag or container. They can be reheated in a microwave for 5-10 seconds for a warm treat!
Tempting you to bake these delicious ghostly delights ASAP!
With each delicate bite of these adorable Spooky Ghost Cookies, you’re invited to relive sweet childhood memories and create new ones with family and friends. The delightful icing, the simple preparation, and the joy these cookies bring make them an absolute must-bake this Halloween season. So pull out those mixing bowls, gather the kids, and embark on this beautiful culinary journey. You won’t regret it!
FAQs
Can I use a different flavor extract for the icing?
Yes, you can experiment with other flavor extracts such as coconut or peppermint for a fun twist!Can I make the dough in advance?
Absolutely! You can prepare the dough, wrap it in plastic, and refrigerate it for a couple of days before baking.What can I do if my icing is too thick?
If the icing is too thick, simply add a few drops of milk and stir until you reach the desired consistency.How can I make my ghosts more colorful?
You can mix and match food coloring to create different colors for the ghosts, giving each one a unique look.Can I substitute margarine for butter?
While not recommended for the best texture, margarine can work as a substitute for butter in this recipe. Just ensure it’s softened to room temperature before using.
Let these Spooky Ghost Cookies cast a delicious spell in your kitchen, leaving you craving more long after they’re gone! Happy baking!

Spooky Ghost Cookies
Ingredients
Cookie Ingredients
- 3 cups all-purpose flour, plus more for surface This provides the perfect base.
- 1 tsp baking powder For the delightful rise.
- 1/2 tsp kosher salt Enhances all those sweet flavors.
- 1 cup (2 sticks) unsalted butter, softened Key for that melt-in-your-mouth texture.
- 1 cup granulated sugar For just the right sweetness.
- 1 large egg Binds it all together.
- 1 Tbsp milk For added creaminess.
- 1 tsp pure vanilla extract The aromatic secret to flavor.
Icing Ingredients
- 3 cups powdered sugar For a fluffy, sweet icing.
- 1/4 cup light corn syrup Gives icing that shiny finish.
- 1/4 cup milk, plus more for thinning Achieve the perfect consistency.
- 1/4 tsp almond (or vanilla) extract For a delightful twist.
- as needed drops black food coloring To create those spooky ghost faces!
Instructions
Preparation
- In a large mixing bowl, whisk together the flour, baking powder, and kosher salt until well combined.
- In another large bowl, beat the softened butter and granulated sugar together until light and fluffy, about 2-3 minutes.
- Crack in the egg, add the milk and vanilla extract, then mix until thoroughly combined.
- Gradually add the flour mixture into the wet ingredients until just combined. Be careful not to overmix!
- Shape the dough into a disk, wrap it in plastic wrap, and refrigerate for at least one hour.
- Preheat the oven to 350°F and line two large baking sheets with parchment paper.
- Lightly flour a clean surface and roll out the chilled dough until it’s about 1/8 inch thick.
- Using a ghost cookie cutter, cut out ghost shapes and transfer them to the prepared baking sheets.
- Freeze the cookies for about 10 minutes before baking to help retain their shape.
- Bake the cookies for 8 to 10 minutes, until edges are just lightly golden.
- Transfer to a wire cooling rack and allow to cool completely.
- Make the icing by combining powdered sugar, corn syrup, milk, and almond (or vanilla) extract in a medium bowl.
- Dye about a quarter of the icing with black food coloring for spooky eyes and mouths.
- Pipe the edges of cookies with the white icing, then fill in centers with the remaining icing and thin if necessary.
- Allow the icing to set for about 15 minutes before adding expressive faces with the black icing.